⚙️ Arturia AudioFuse Studio – characteristics:
- Connecting to a computer: USB-C or USB-A
- Number of preamplifiers: 4 microphone/instrumental/line preamplifiers with DiscretePRO® technology
- 4 additional line inputs, inputs 5-6 switch to Phono.
- 4 analog Inserts on channels 1-4
- Bluetooth audio receiver with aptX© and AAC© support
- 2 pairs of analog outputs to monitors with balanced TRS Jack connector.
- 2 independent stereo headphone outputs, TRS 6.35 and 3.5mm.
- 2 independent analog line outputs with re-amplification capability (instrument level output)
- 8 ADAT digital I/O up to 96 kHz
- S/PDIF inputs/outputs or Word Clock input, Cinch RCA output/throughput connector
- A/D resolution: 24 bit/192 kHz
- AUX In: Connecting external sources
- Software included: Cubase LE and Cubasis LE
- Dimensions: 265 x 160 x 72 mm
- OS requirements: Windows 10 (64-bit): minimum 4GB RAM, macOS 10.15 and above: minimum 4GB RAM
Equipment:
- AudioFuse Studio sound card
- Power supply
- 2x MIDI connector adapters
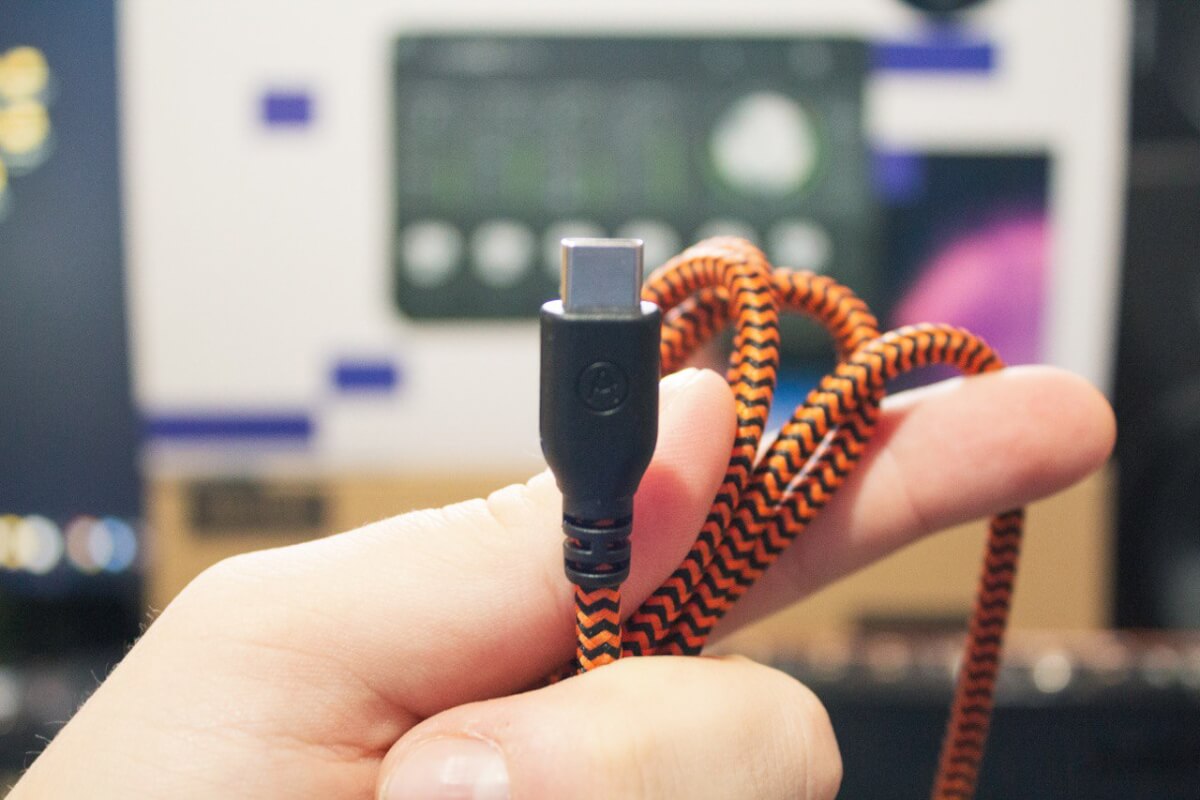
- USB-C to USB-A Cable (1.5 m)
- USB-C to USB-C Cable (1.5 m)
- DiscretePro® Certificate of Achievement
🎧 Sound
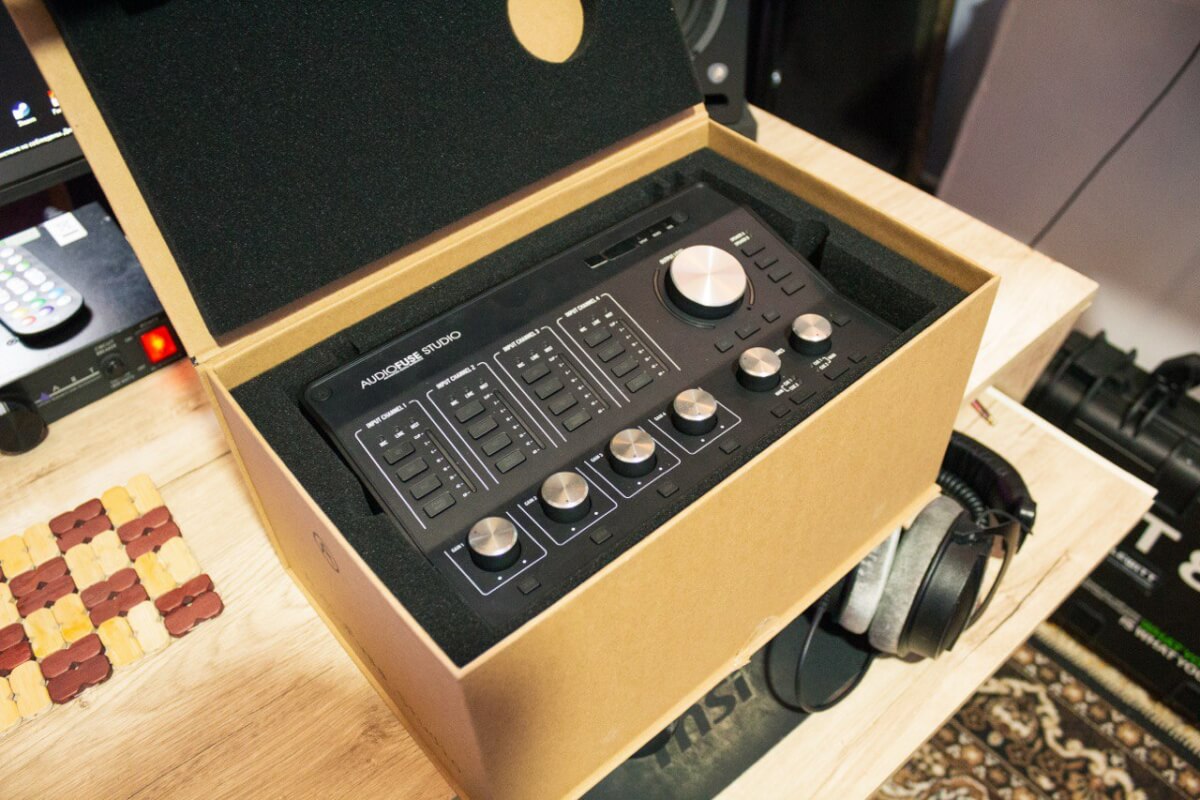 Arturia AudioFuse Studio is a card with top converters and microphone preamplifiers. Arturia claims that these are the most technologically advanced preamplifiers they can provide. It’s called DiscretePRO. These preamps give a low noise floor (-129dB) and an astounding 120dB dynamic range. Many times these preamps have won awards among the audio community.
The ADC in this sound card is an AKM AK5578, which is a 32-bit converter with a dynamic range of 121 dBA.
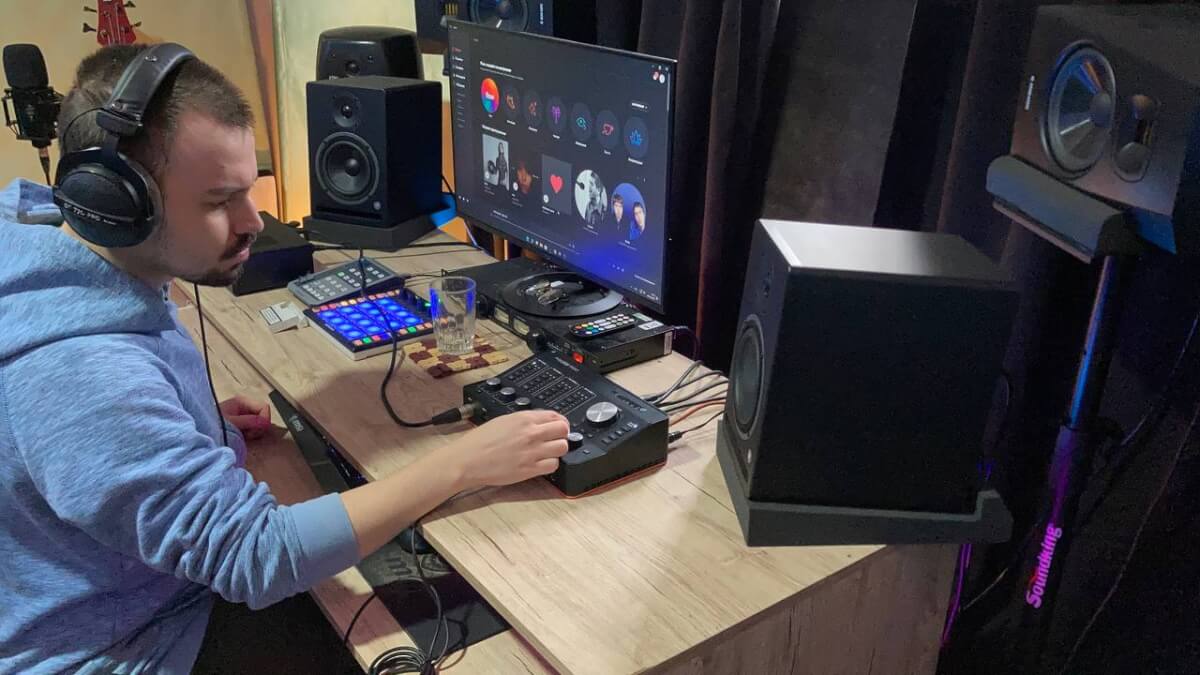 For recording quiet instruments or intimate vocals, this card is more suitable than any other. It does not introduce any noise or artifacts into the signal. As Arturia states – “An audio interface should not add color to the sound, but should produce a clean and natural signal.
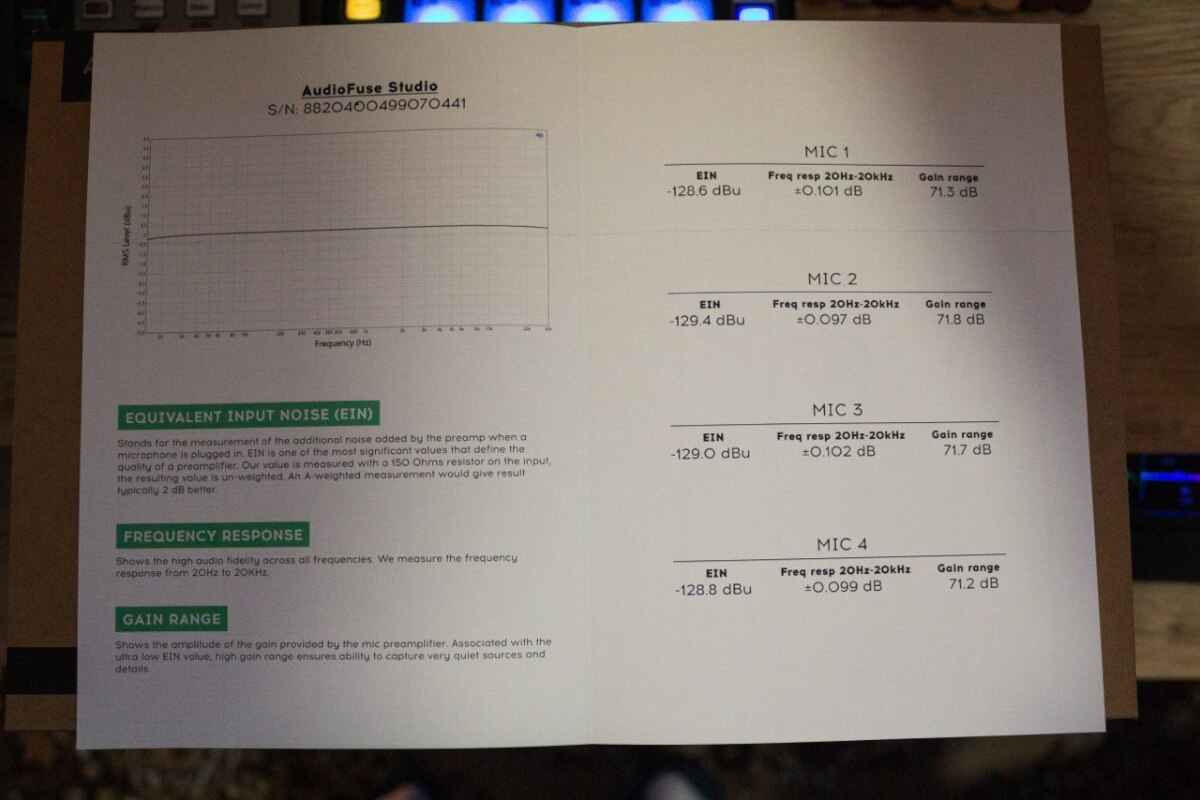 I was surprised by the quality certificate that came with the sound card. It stated:
- The serial number of the card.
- The graph of the AFC when measuring the preamps. And you can see from it that the preamp frequencies are flat.
- Each preamp was measured and recorded in this certificate. The measurements show that each preamp is unique and stringed to the average value specified in Arturia’s specifications.
I can say for myself that Arturia’s marketing information is confirmed. The sound from the preamps is clean and not colored. This is exactly what you need 😉 .
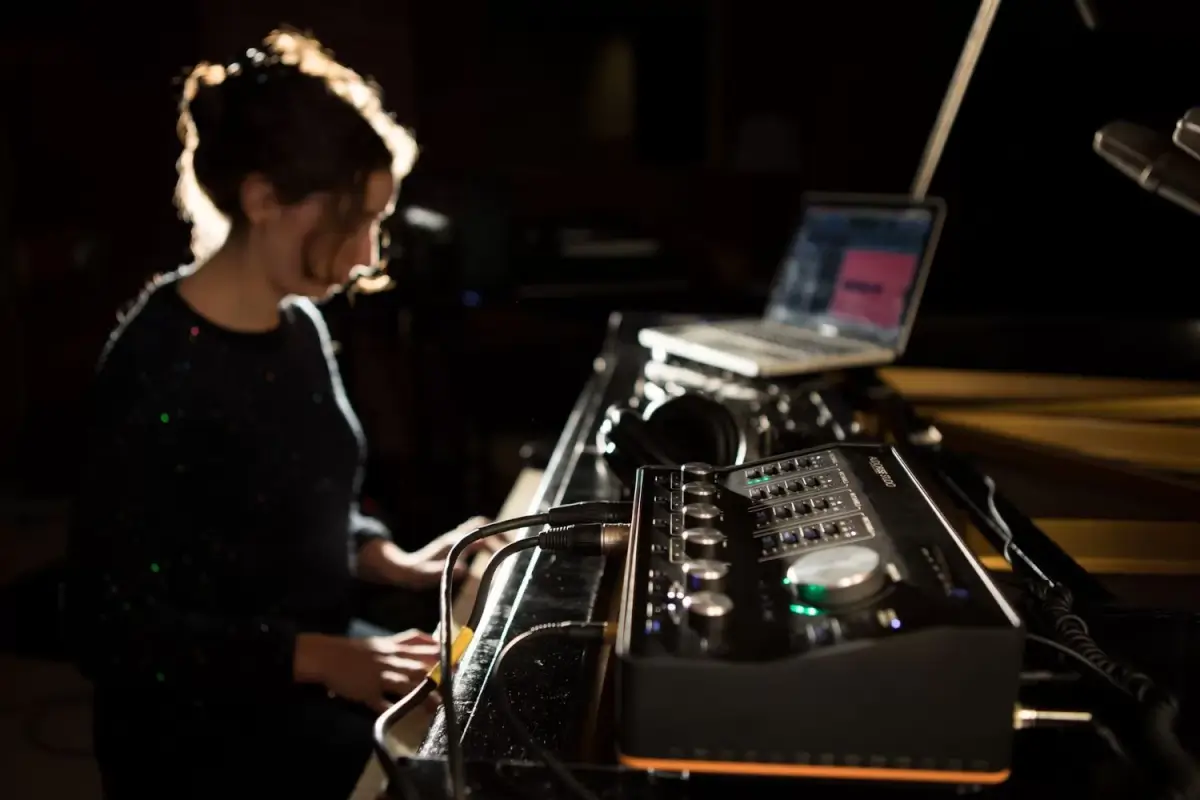 Arturia AudioFuse Studio has a minimum delay of 3 ms. with the lowest buffer in the 8 sample driver. Thanks to this delay you can record instruments and vocals without fear of signal breakup in headphones. Not all cards on the market up to 1000$ can boast such a minimum delay value.
The outputs to the monitors are clean and detailed. The card sounds better and more transparent compared to my Audient ID4 MKII and UAD Volt 2. I felt like I had a veil in front of my eyes, but when I turned on the music with Arturia AudioFuse Studio this veil disappeared.
DAC in this sound card is based on AKM AK4493 chip. Passport parameters of which (signal/noise 120 dBA).
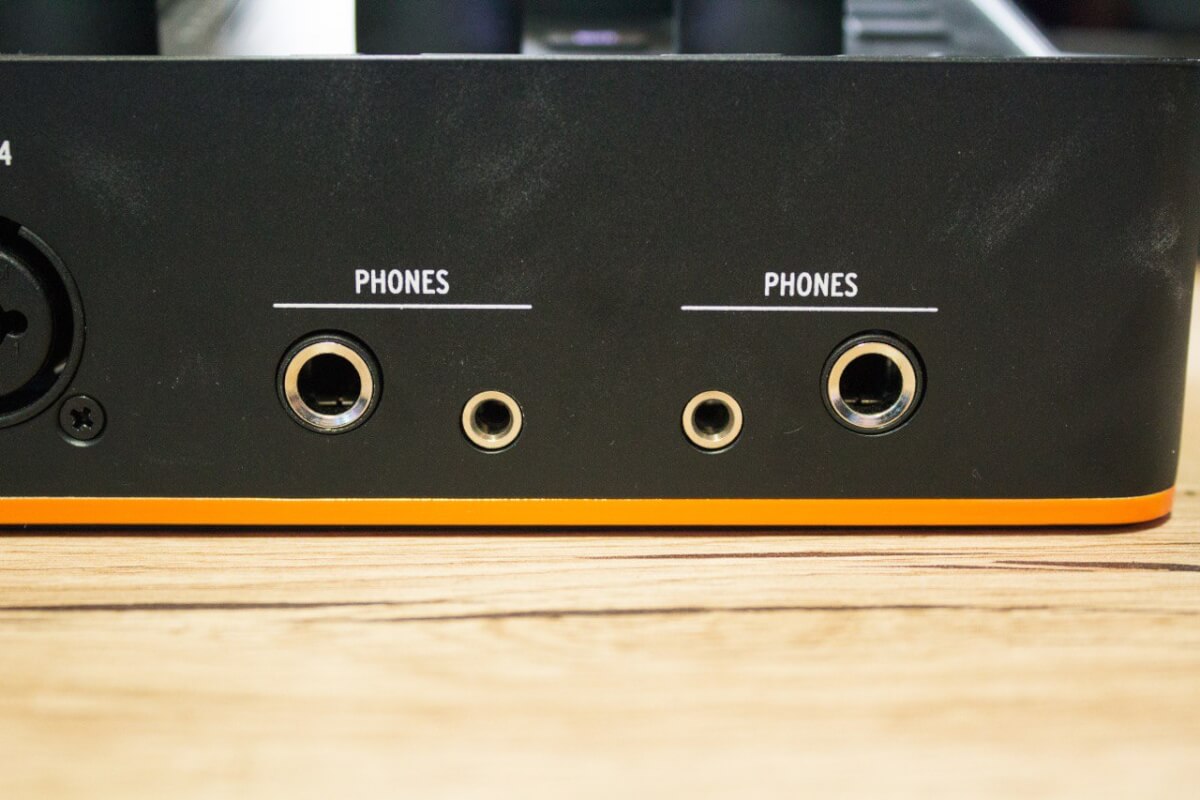 Headphone monitoring can be performed using 4 outputs, which are paired together. Each pair is a Jack 6.3 output and a mini Jack 3.5 mm output. For each pair there is a volume control. It is very convenient if you work with an artist and send him to the headphones volume at one level, and you as a sound engineer at another. In my case, I like to work at a low volume level, and some artists want to be “pumped up”.
The headphone outputs are powerful and clean. They can handle 300 ohms. I tested the Audio-Technica M50X (35Om), AKG K240 MKII (55Om), Beyerdynamic DT770PRO (80 Om), Beyerdynamic DT990PRO (250 Om). All headphones sounded great, the gain was enough, and the volume reserve was enough, even had more room to turn it up 😎 .
Headphone amplifiers are built on TI OPA1688 op amps for Jack 6.3 mm. And mini Jack 3.5 mm. outputs are based on JRC4580 amplifier.
Audio recording test on Arturia AudioFuse Studio
In the test I recorded voice, acoustic guitar and electric guitar. The microphones used for recording were Lewitt 440 Pure and Lewitt 840.As you can hear from the sample recordings, the sound is clean, detailed and there is no noise from the preamps. I’ve been working with this card for a month. I wrote guitars, bass, vocals. Before that I had UAD Volt 2 and Audient ID4 MKII. The difference is tremendous! When you get well recorded sources, it’s easier to work on mixing later on. I was impressed with how a “top” level card can affect the quality of my work.
🛒 Buy Arturia AudioFuse Studio
🎛️ Management and functionality
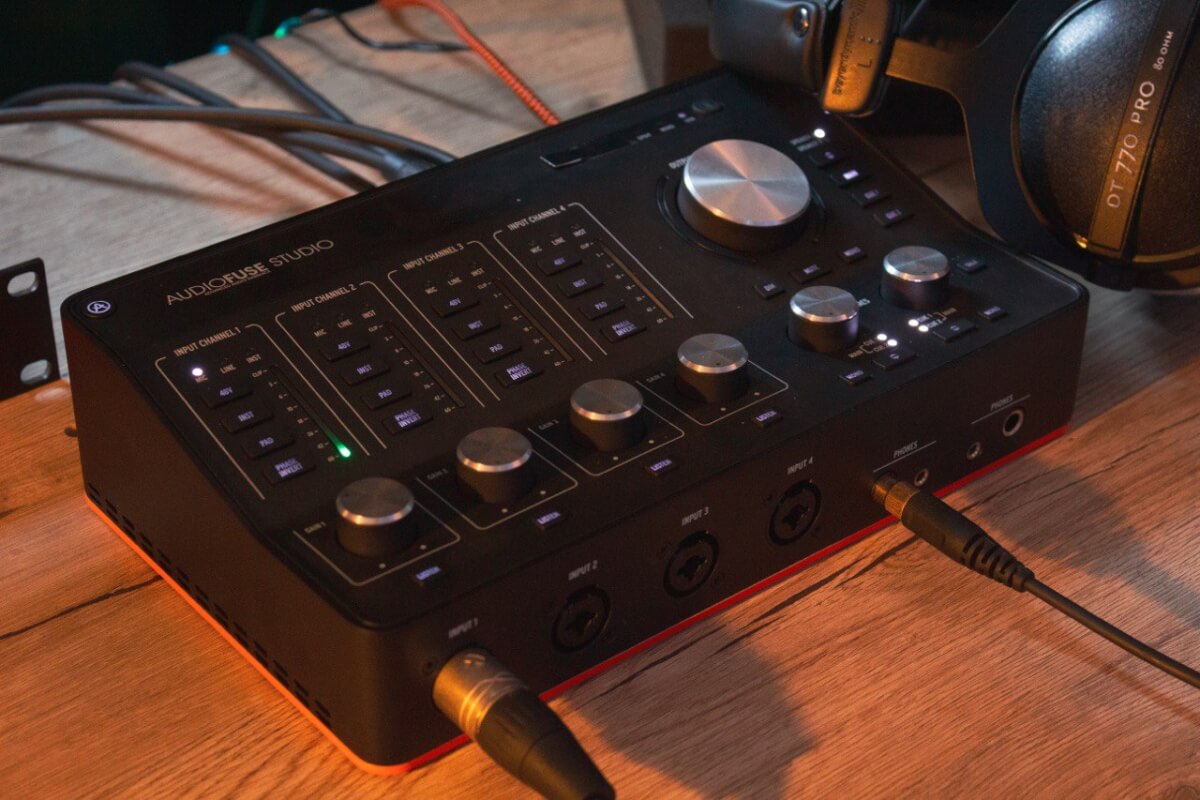
 Card control is located on the top panel. All knobs, buttons and indication are visible and it is convenient. The sound card can be divided into two parts. The left one is responsible for the input signal, the right one is responsible for the output signal.
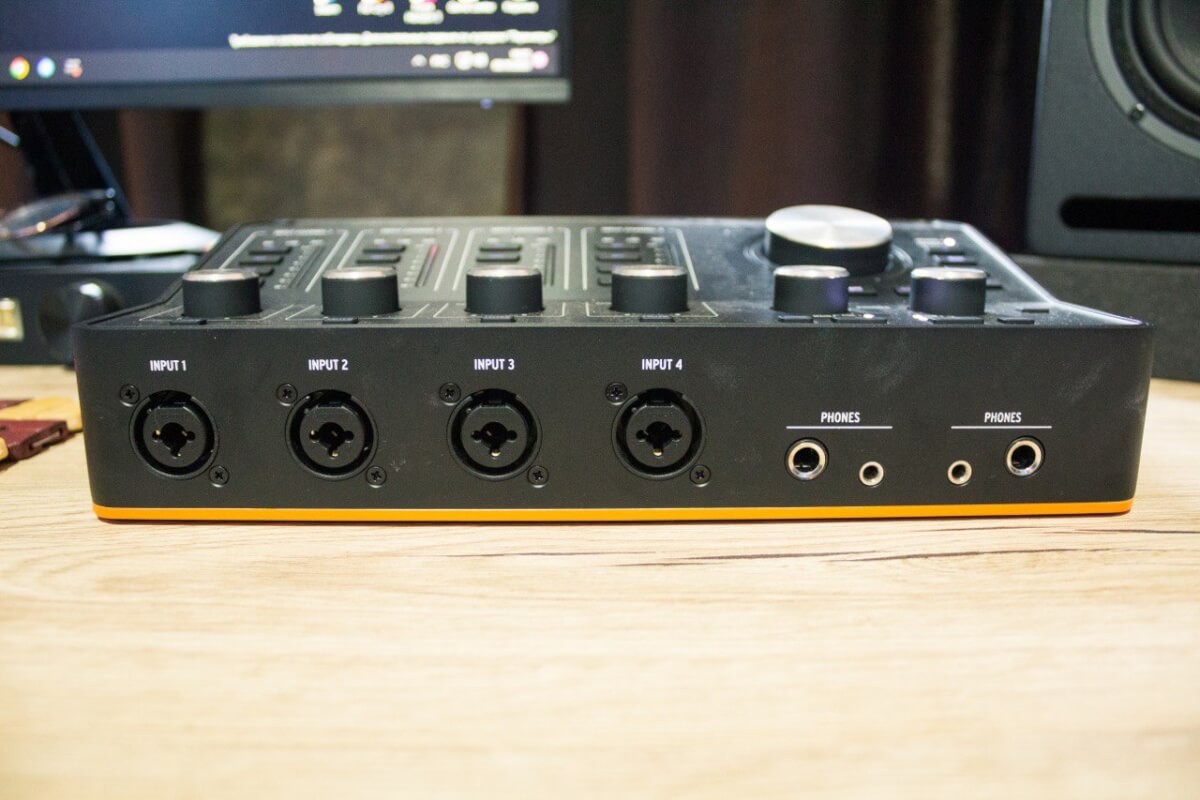
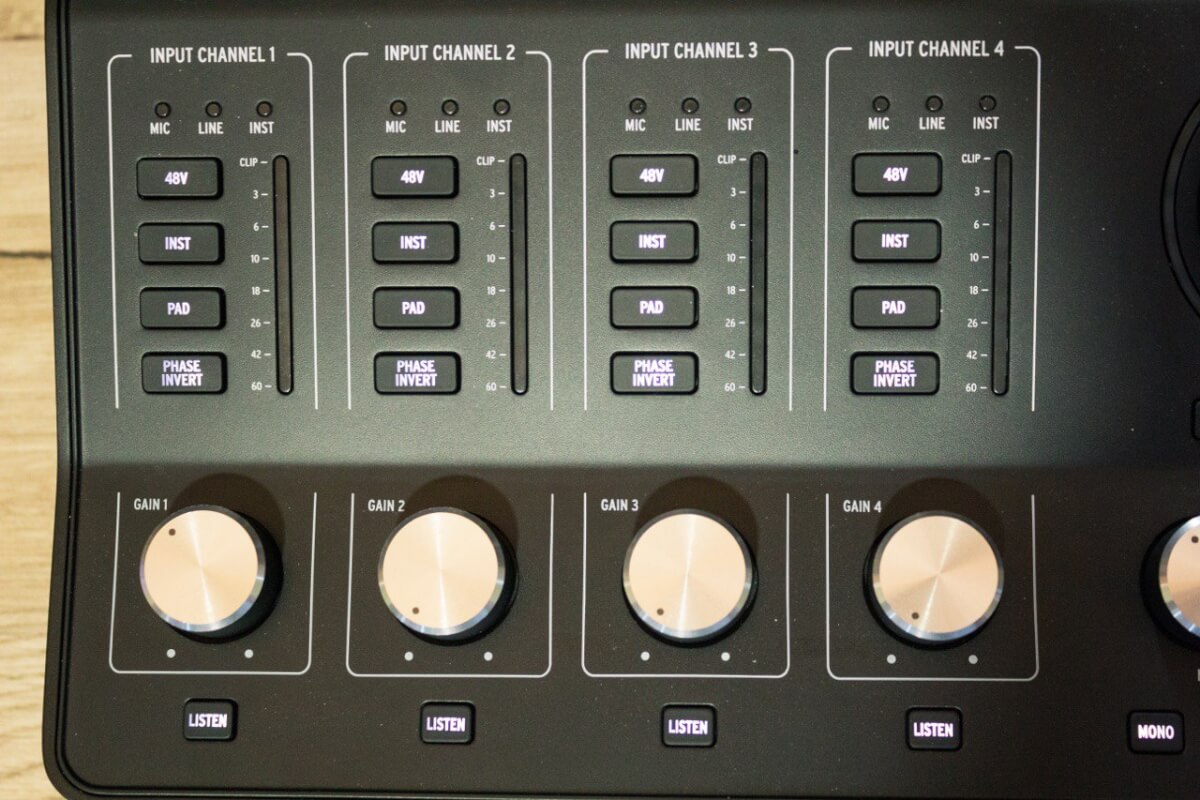 Let’s take a look at the preamp section. We have four inputs available. There is a separate control for each one. Each channel is numbered and is responsible for its own separate input below it.
 Let’s break down the controls and interface:
- The first thing we see is the label – Input Chanel and the channel number.
- MIC, Line, Inst indicators – the card can automatically recognize what is connected to it. Microphone or Line input. The MIC light will light up when a microphone is connected, and the Line light will light up when a line input is connected. If you have connected a guitar or bass, you should press the INST button below to switch the channel to HI-Z mode.
- 48V button – turns on phantom power.
- INST – activates HI-Z mode for high impedance instruments (electric guitars, bass).
- PAD – attenuate the signal by 20 dB (volume reduction).
- Phase Invert – rotates the phase by 180 degrees. This is convenient for multi-channel recording.
- The Gain control is responsible for amplifying the signal. The maximum gain is +71 dB.
- The Listen button is a programmable button that allows you to select a channel or signal for solo listening. You can select a channel to listen to in the audio driver.
 The outputs section has several controls and buttons:
- The large knob (Knob) is responsible for the volume of the output to the monitors. There is an indicator next to it, which shows the volume when you turn the knob, and when you play the diodes playfully move in time with the signal.
- The two diodes to the right of the volume control (Speaker A/B) indicate which monitor output is activated.
- Button under the diodes (Speaker A/B) – switch between outputs to monitors (output A or output B).
- Main button – selects the main signal of the audio driver.
- CUE 1 and CUE 2 – signal selection assigned to the input signal CUE 1 or CUE 2.
- DIM button – reduces the volume of the output signal. Useful if you want to listen to a mix at a low volume.
- Mute – mutes the sound output to the monitors.
- MONO – switches on the mono mode of the signal output to the monitors.
- Headphone output controls – headphone output volume (the first control is responsible for the volume of the first pair of outputs, and the second control for the second pair).
- MONO button under each knob – turns on the mono mode in the headphones.
- Two LEDs at each headphone output control indicate which of the audio driver outputs is output to the headphones (both LEDs are lit – Main).
- Talk button – required for voice communication with a vocalist or musician. If the sound engineer is far away from the musician or vocalist, he can use this function to connect and be heard through the headphones.
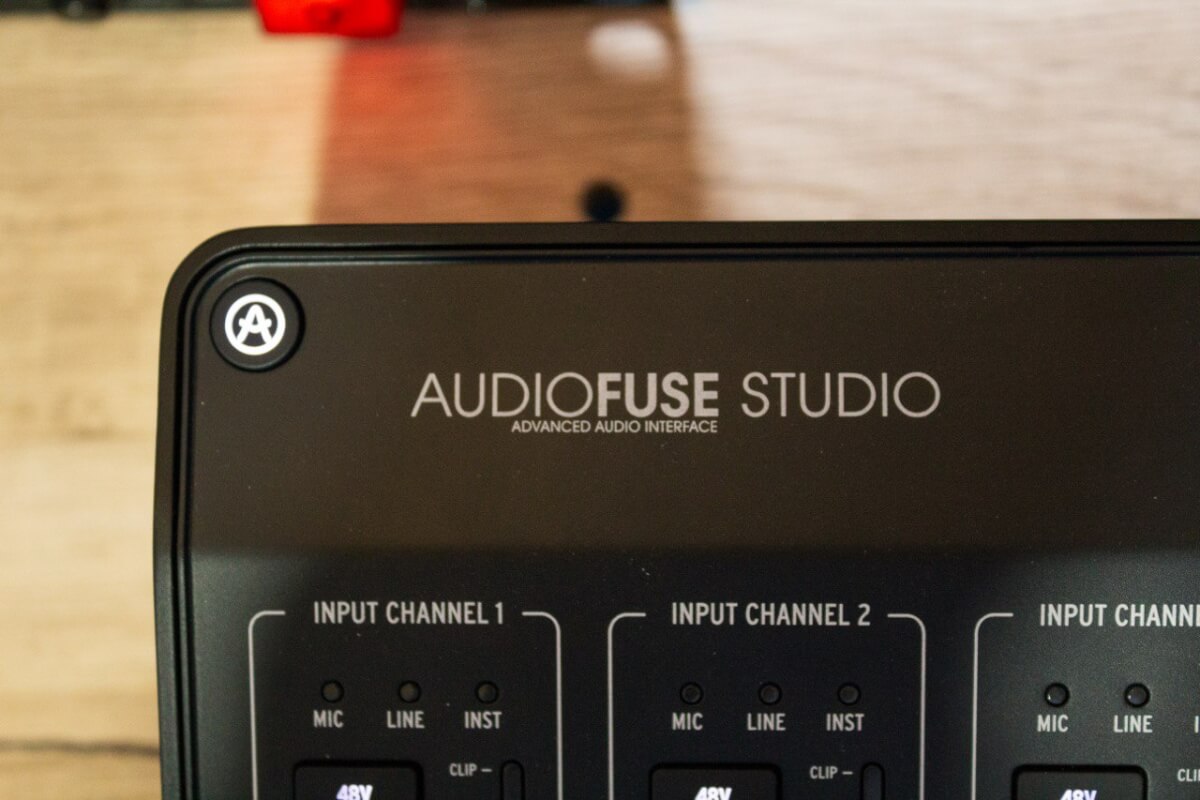 I would like to mention an interesting button which is located in the upper left corner of the sound card. It is not just a company logo which is highlighted in white color, but also a button that calls the audio driver. Very fast and convenient 😉 .
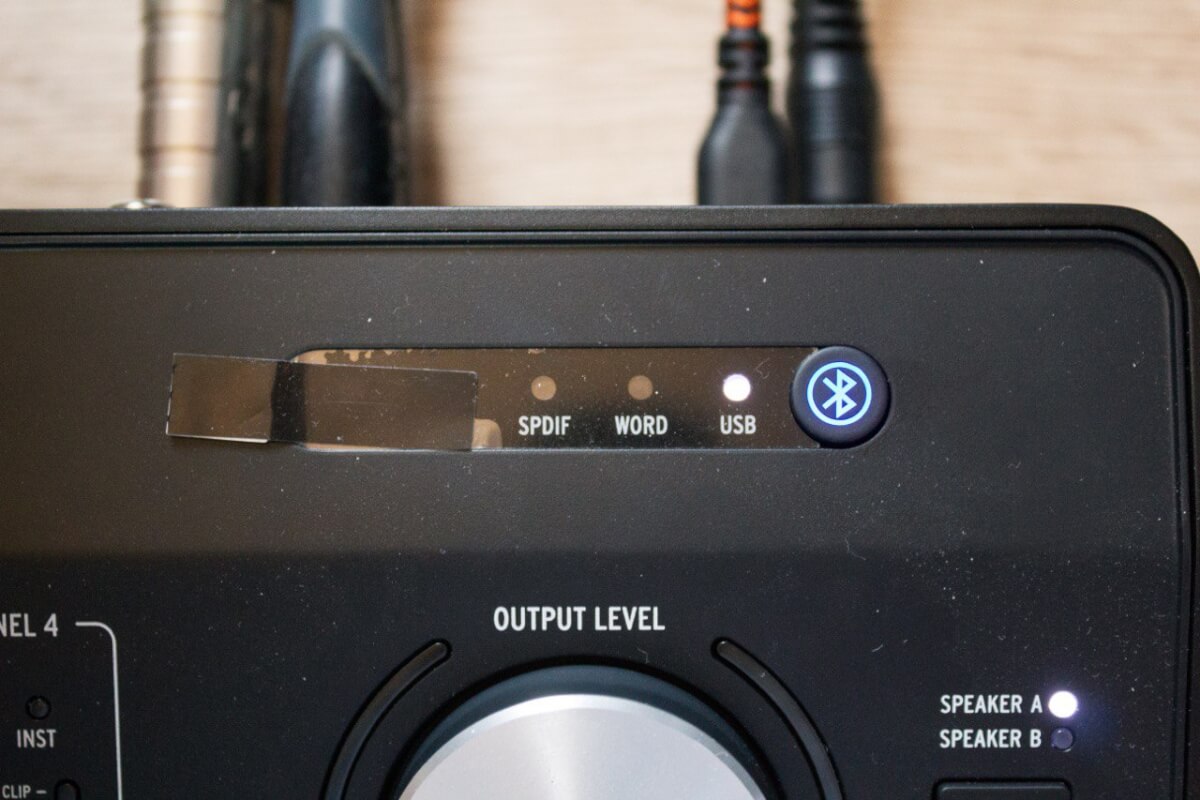 In the upper right corner of the card there are indicators of interface connections (USB, WordClock, S-PDIF and ADAT). If one of these connections is activated, the indicator will light up white.
One of the most interesting features is the Bluetooth function. With this function you can connect your smartphone, tablet or laptop to the sound card and play music directly. The card will display the channel in the audio driver that will be connected via Bluetooth. It can be routed to either Main output or CUE 1/2.
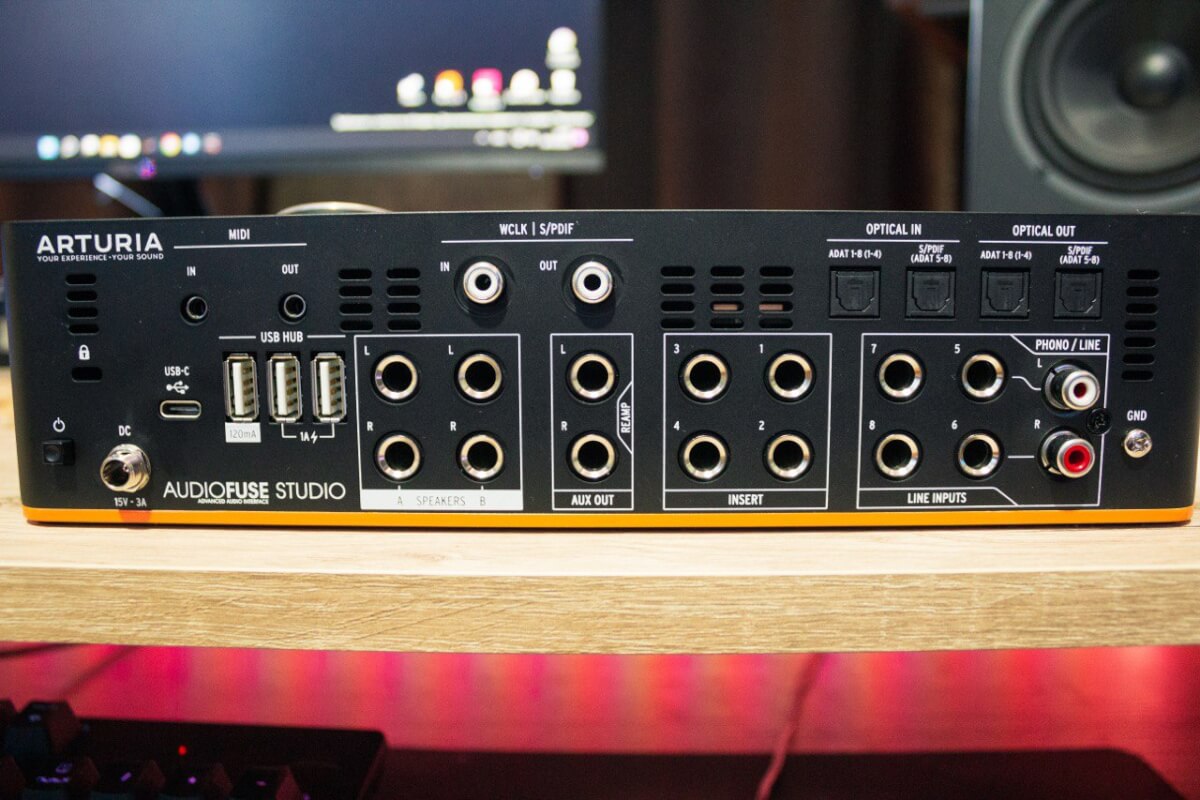 The connection interface is wide and has everything you need for both home and professional studio work.
Consider all possible inputs and outputs of the card:
- The power button in the left corner is to turn the sound card on and off.
- DC power connector – power supply connection. The sound card requires additional mains power!
- Kensington Lock – A lock with a steel cable that connects the protected portable electronic device.
- USB-C – Connect to a computer.
- USB-HUB – the ability to connect peripheral devices (midi keyboards, midi controllers, etc.) to the sound card.
- MIDI IN/OUT – connection of midi devices. The card has 3.5 mm jacks, but there are adapters for classic midi inputs in the kit.
- Speaker A/B Outputs – 2 pairs of balanced speaker (monitor) outputs.
- WCLK/S-PDIF – you can connect both digital input and output and synchronize by clock. The mode of these channels can be selected in the audio driver.
- AUX/Re-Amp – firstly these outputs are DC coupled and can be connected to modular synthesizers, and secondly you can reamp your guitars or bass guitar. That is, the guitar can be re-routed to some amplifier.
- Insert – you can connect external processing instruments to the signal break for all 4 preamps.
- Line Inputs TRS – additional inputs for recording by Jack 6.3 mm.
- Phoni Line – RCA input with phono stage. RIAA filter on the RCA input is not disable. You can connect vinyl players and digitize records from them.
- Optical IN/OUT – Used for connection via ADAT or S-PDIF digital protocol. 8 digital channels are available for expansion.
The controls of this card are intuitive. All controls and buttons are labeled. There are no unnecessary elements on the sound card. There are no questions about the functionality. The sound card completely covers the needs in recording and sound output. It even has an input with phono-corrector for digitizing vinyl 😎 .
Audio driver Arturia AudioFuse Studio
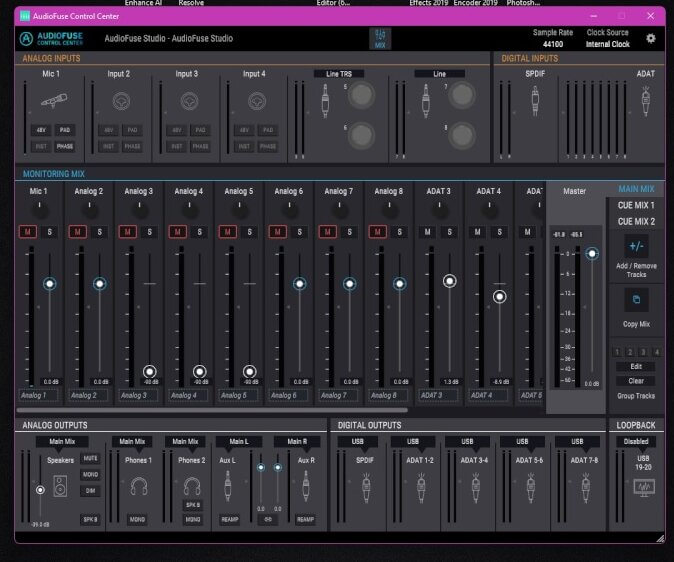 The audio driver’s interface may seem complicated and confusing, but that’s just at first glance. In the upper part of the application there are inputs. In the central part there is a mixer panel responsible for channel volume, panning and routing. The lower part of the window is reserved for working with sound card outputs.
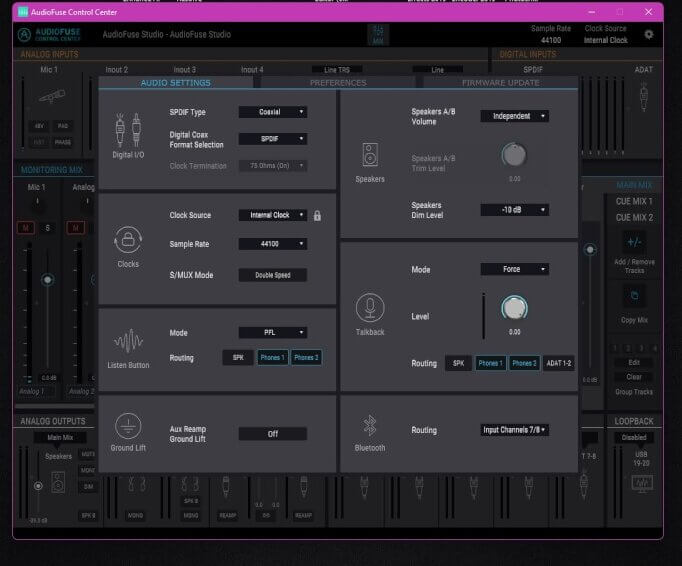 When you click on the upper right corner of the “gear”, an additional window with advanced settings appears. Here we can select the channel for Bluetooth. Manipulate Clock. Select the channel to listen to when the Listen button is pressed. Adjust the diming of our monitors. Work with the Talk Back settings of the microphone.
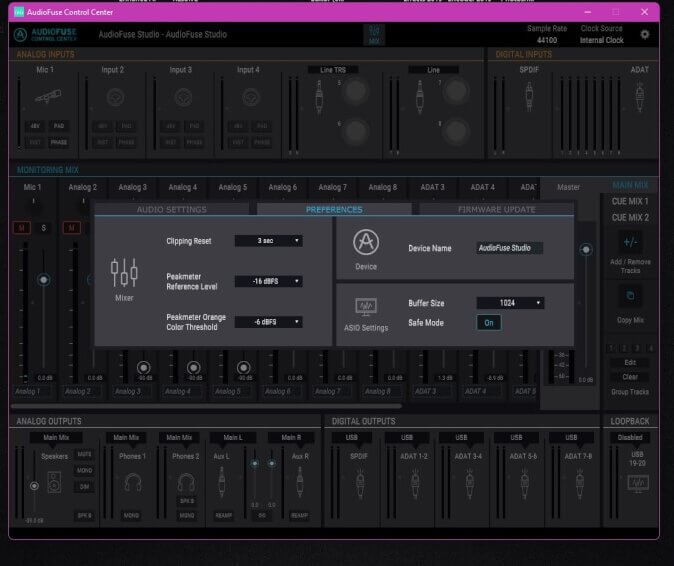 In the Preference tab we can choose a delay buffer. We can give our Arturia AudioFuse Studio a name 😉 . And adjust the mixer parameters.
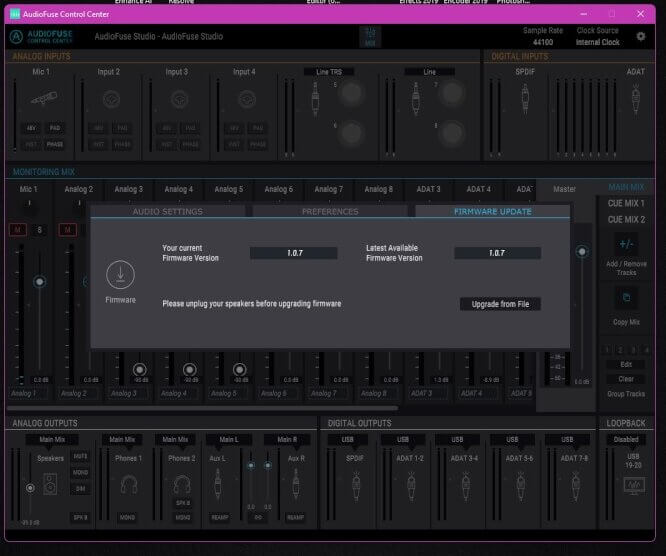 The last tab gives information about the card firmware. In this window you can update the firmware. Updates arrive regularly, don’t forget to upgrade 😎 .
To fully understand the audio driver, I recommend reading the Manual from Arturia. It explains in detail every function in the audio driver.
The audio driver is flexible in customization. It can be used to fully customize the card without even touching it. Assignment of inputs, outputs. Routing channels and sends. Make different versions of the mix and send different outputs to monitors and headphones. The sound card has LoopBack feature, which will help when streaming without sound delays in DAW. Arturia AudioFuse Studio can fulfill any task that involves recording or outputting audio.
🎁 Supply package
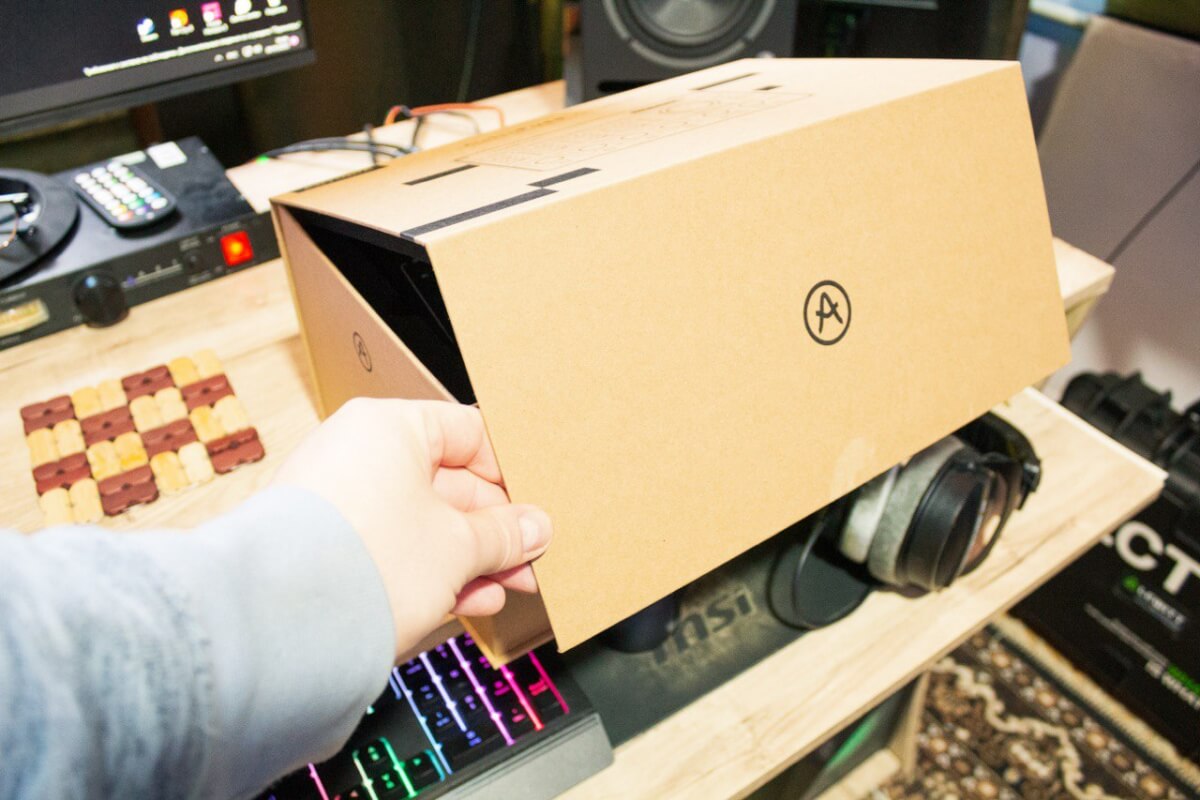 The sound card meets us in a box that opens “expensive and rich” 😆 . Arturia AudioFuse Studio lies in a soft foam chair and when you take it out of the box you realize that you have bought a sound card from the big league!
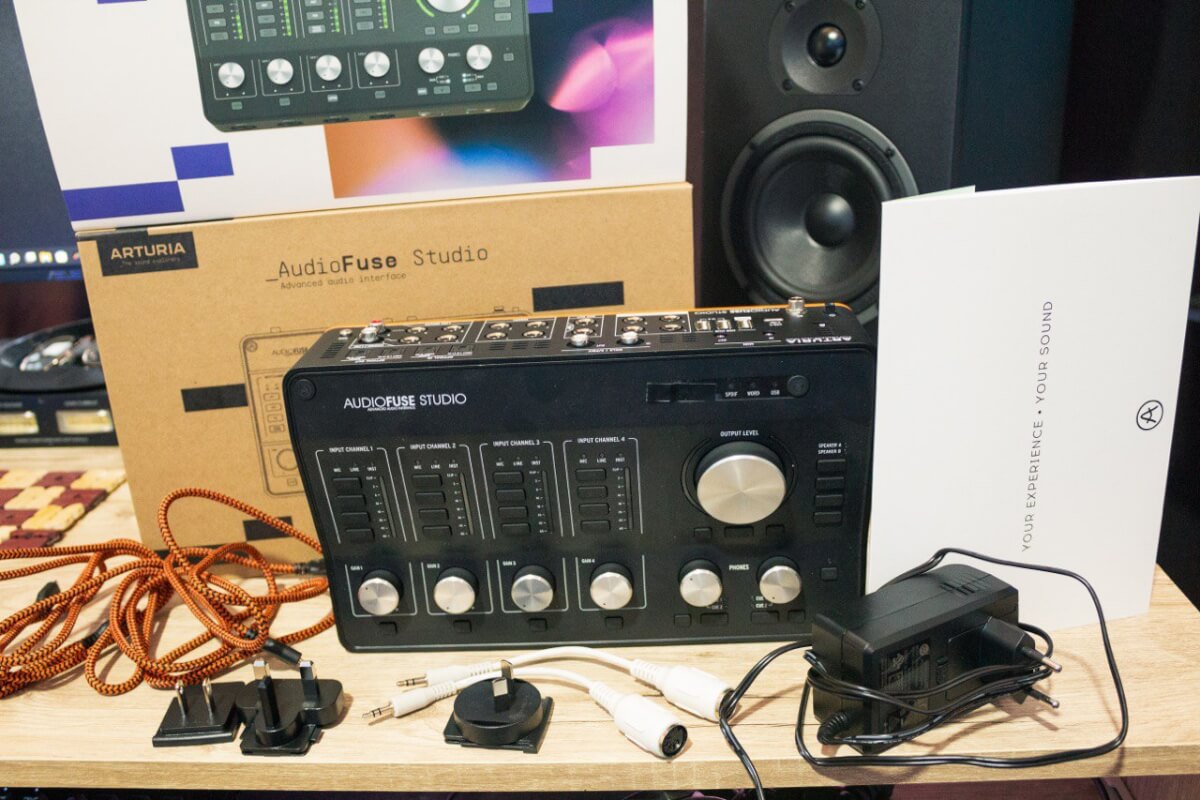
 The Arturia AudioFuse Studio kit includes:
- Sound card
- 2 USB cables
- Documentation and certificate
- Software and plug-ins
- Power supply and adapters for different plugs
- Midi to 3.5mm adapters
Software and Plugins:
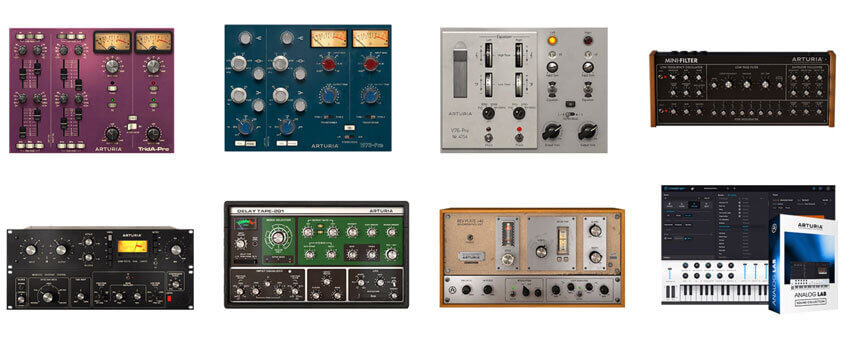 AudioFuse Creative Suite will be available with Arturia AudioFuse Studio. This is a set of plug-ins that will help in music writing, mixing and mastering. It is the bare minimum that will help you in production. The quality of Arturia plug-ins is top-notch. You can find emulations of vintage instruments and a set of modern synthesizers or effects.
The kit will be available:
- Ableton Live Lite and Analog Lab Intro is a popular DAW and sound library.
- Pre-1973 is an emulation of the legendary NEVE 1073, a preamp that makes the signal warm and rich in harmonics, I consider it the most useful among all the plug-ins that I have listed.
- Chorus JUN-6 – I can’t say much since I don’t use this plugin that often, but it sounds pretty good.
- Reverb PLATE-140 is an emulation of the legendary EMT 140, if you have not tried it, I recommend it for vocals or snare drum.
- Delay TAPE-201 is a tape delay emulation with a rather warm retro coloration.
- Pre V76 is a preamp and EQ emulation from the 60’s. With a rich and unique sound.
- Pre TridA is another emulation of a vintage preamp and equalizer.
- Comp FET-76 is an emulation of the legendary UREI 1176 compressor.
- Filter MINI is a filter for working with sound.
- Phaser BI-TRON is a phaser that guitarists will love. There is an interesting preset pack on board.
Arturia has never disappointed me with the set of its plug-ins. It doesn’t matter if you buy a budget sound card (Arturia MiniFuse 2) or a midi keyboard (Arturia MiniLab 3). data-mce-href=”https://mychooz.com/reviews/arturia-minilab-3-73918″>Arturia MiniLab 3). The plugin pack is going to be great. These are the plugins that I really recommend using. Just Analog Lab V with its huge package of sounds and emulations such as MiniMoog, JUN-6, JUPITER-8, etc., is worth it.
📢 Appearance and build quality
 The appearance of the Arturia AudioFuse Studio is evocative and interesting. The card looks modern and produces a storm of emotions from the design. If you take for example RME BabyFace, its design is specific, while UAD Apollo Twin is minimalistic. Arturia AudioFuse Studio strikes a balance between aesthetic pleasure and studio rigor. I can especially note the orange border at the bottom of the card, it looks stylish 😎 .
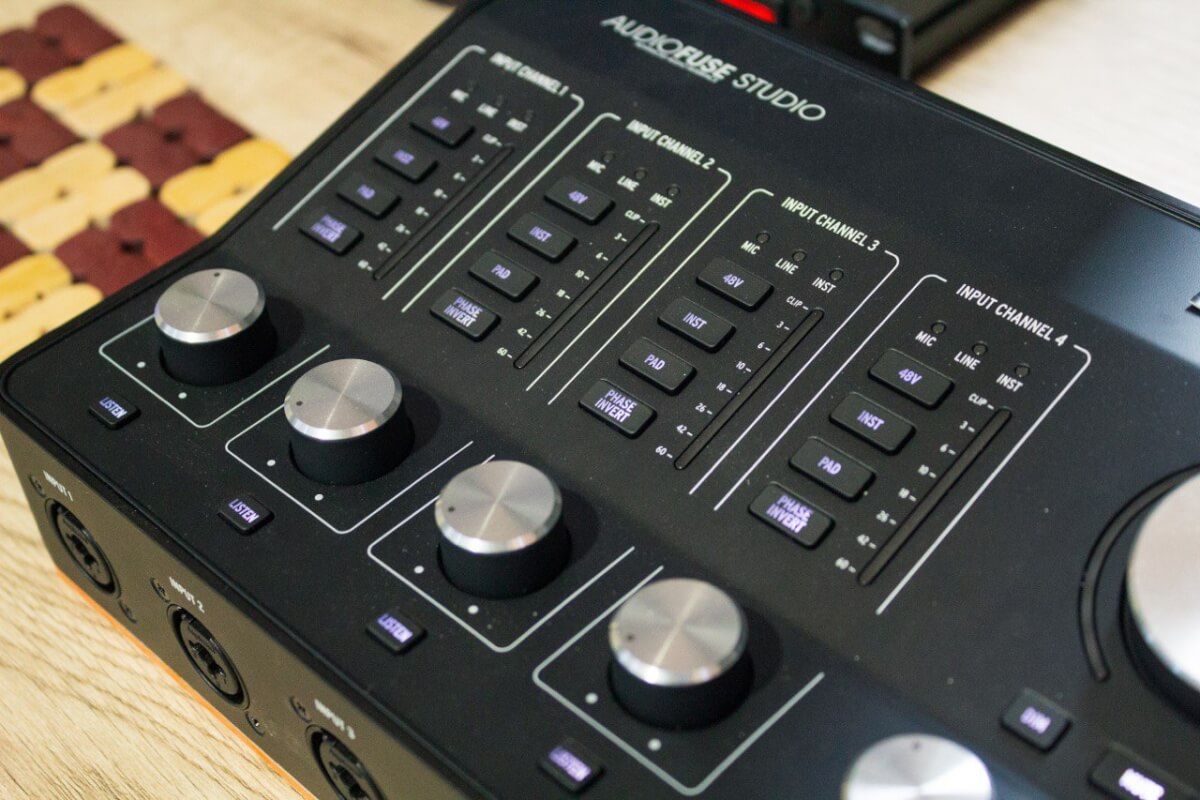 The color scheme is dark. The color is dark gray. There is a silver ribbed insert on the top of the regulators. On the regulators there is a marker showing in what position the regulator is in, it is convenient. Buttons have white backlighting. When it is dimly lit it means the button is off, when it is bright white it means it is on. The phantom power button lights up red when turned on. The card has a slanted shape. It is comfortable when working as you can see all the controls and buttons.
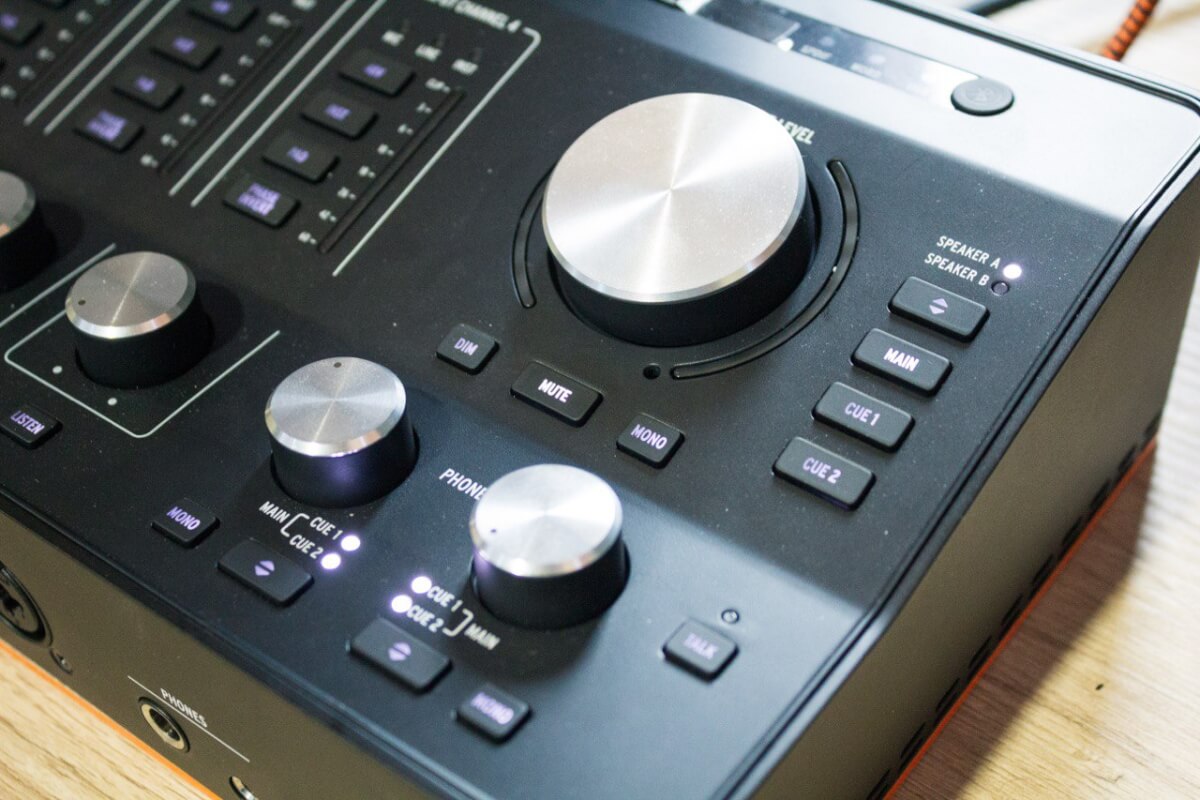 Build is at an excellent level. The body is made of metal, and the top cover is plastic. The buttons are plastic and have a nice click when pressed. The card feels monolithic, with all parts fitting well. There are no gaps or regulators that dangle. Regulators have rubberized edges, they do not slip under your fingers.
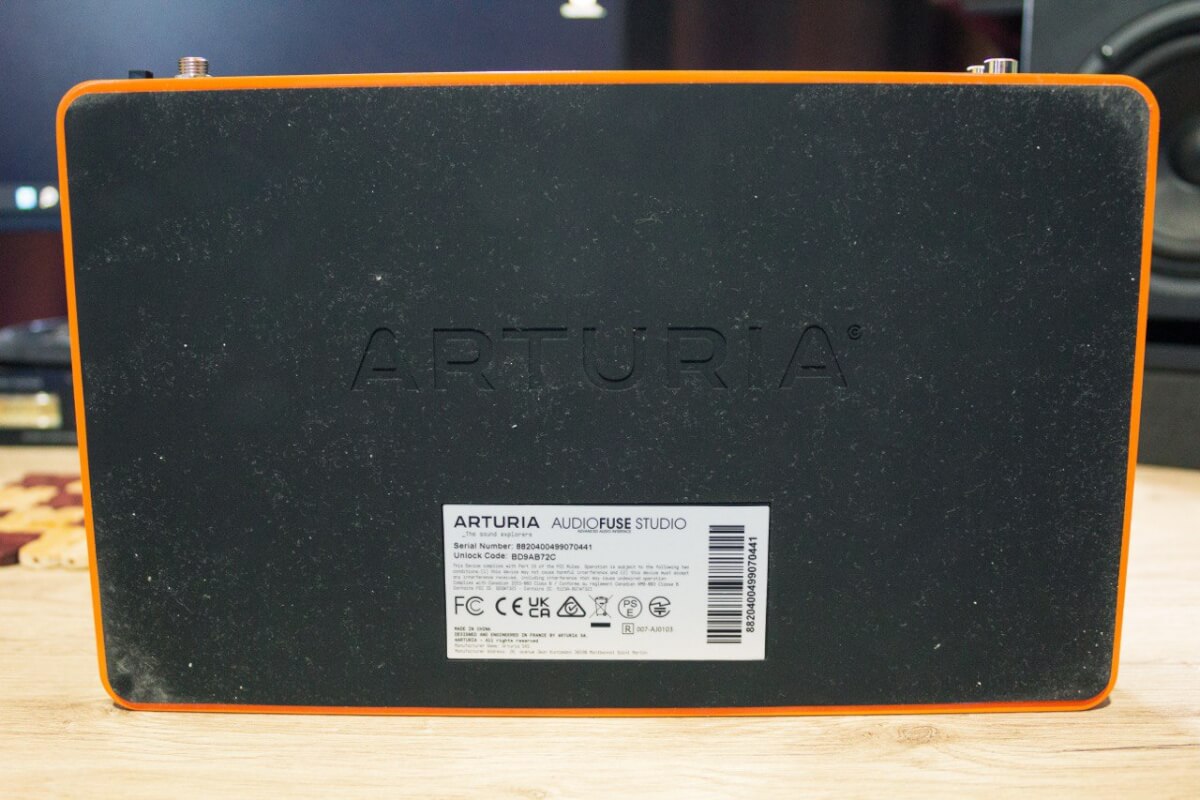 The bottom of the card is completely covered with rubber material. When you put it on the table, it seems to stick to it. You can be sure that the card will not ride on the table when connecting cords or making adjustments.
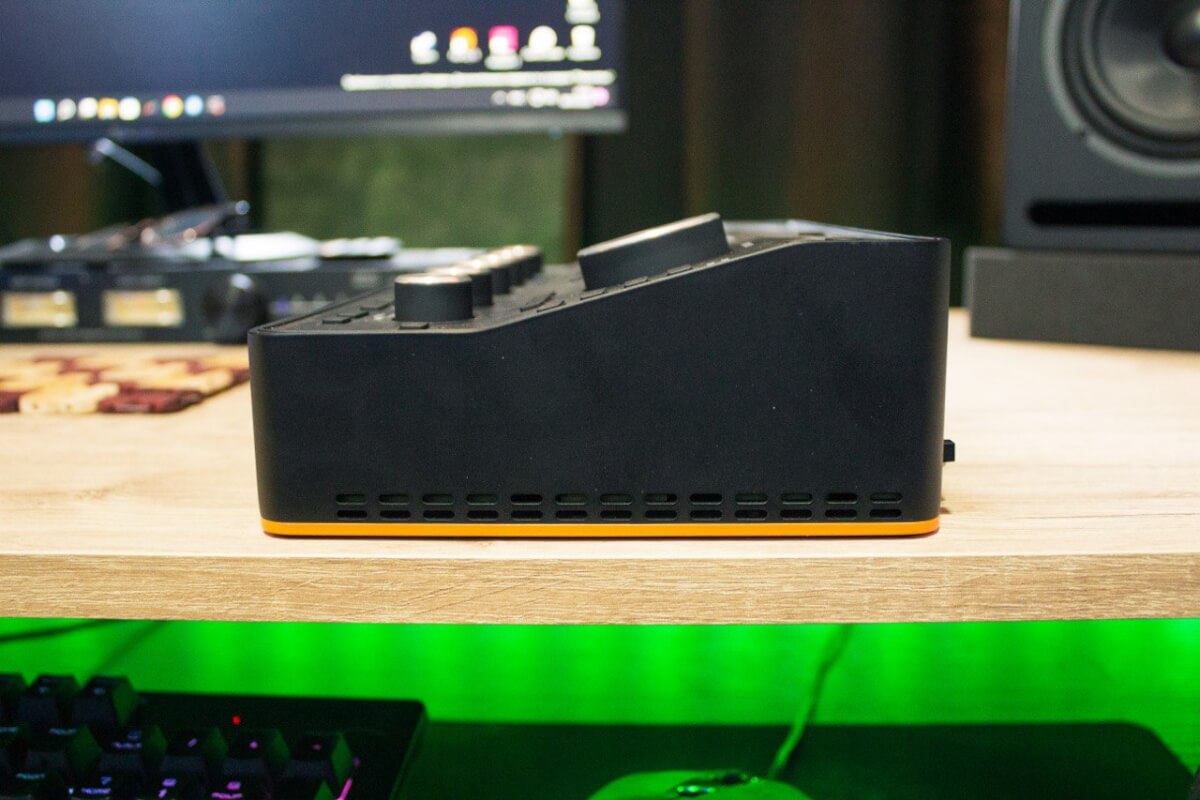 There are noticeable holes around the edges of the case. Arturia AudioFuse Studio is a hot card 😉 . Many users of this card, judging by the reviews, were scared that the card gets warm. No need to be afraid. Arturia engineers took into account the natural heating of the device and therefore there are many small ventilation holes in the case.
I am satisfied with the design of the card. It is stylish and fits in with the studio interior. The controls, backlighting and indication are mesmerizing, but do not distract from the work. The assembly is above reproach. The quality of materials is excellent. All elements are in their place and nothing falls off. When you touch Arturia AudioFuse Studio you feel like Dave Pensado 😆 .
🗿 Competitors
- UAD Apollo Twin is a two-channel sound card with DSP processor on board from the famous Universal Audio brand. This card is famous for its DSP processing plug-ins and quality converters and preamps.
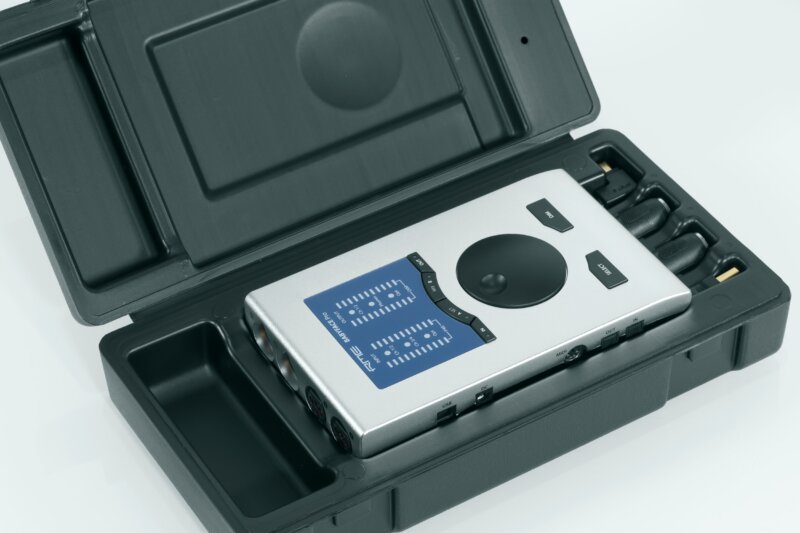
- RME BabyFace Pro FS is a sound card from the German brand. It is famous for its stable performance and longevity. RME sounds clean, natural. Sound cards from this brand can be found in studios all over the world.
Arturia AudioFuse Studio is not inferior to its competitors. Yes, it doesn’t have a DSP processor like UAD. Yes, it is not as compact as RME. But Arturia AudioFuse Studio has such “tricks” that can be found in cards much more expensive than 1000$. Reading this review you noticed how many connection variations are available in the card. First-class quality DAC and ADC. Convenient and feature-rich audio driver. The stability of the card is excellent.
🏆 Bottom line – pros and cons
 3 reasons to buy Arturia AudioFuse Studio:
- Discrete PRO reference preamps. With minimal intrinsic noise and a neutral, detailed sound.
- Great routing options. S-PDIF, ADAT, RCA with phono stage, Insert, ReAmp. Bluetooth connection of playback devices.
- Удобный и стабильный аудиодрайвер.
Write in the comments if you still have questions. With pleasure I will answer 😉 .


